Things to turn in: 2 Flash files (upload to Blackboard), no lab questions.
- lab02-flying-bird.fla
- lab02-xray-mask.fla
Due: 2:00pm Wed
General Criteria:
- playback: all animation play correctly
- correct use of symbols and shapes in animation
- apply correct type of tweening
- correct order of layers (in some cases, the layer order does not matter)
- efficiency: no unnecessary symbols, shapes, and layers
- give a name to each layer to indicate what that layer is about
File #1: lab02-flying-bird.fla
What you are going to learn in this exercise:
- create shape tween
- create motion tween
- create a movieclip symbol
- combine shape and motion tween to create a more complex animation
Part I of Flying Bird
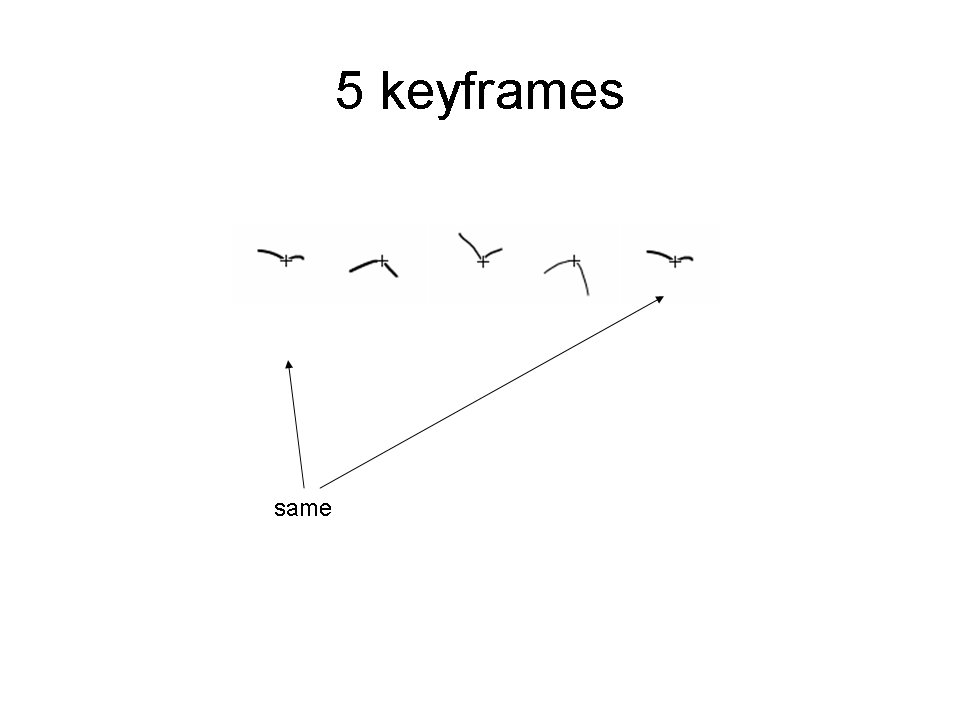
| 1. | Create a movieclip symbol. Inside the symbol, create a shape tween of the flying bird, flying at the same coordinate.
Hints:
|
|
| 2. | On the main timeline, drag the bird flying movieclip on Stage.
An example of completed file: |
Part II of Flying Bird
An example of completed file. |
On the main timeline, create a tweening of the bird movieclip instance, to make it look like the bird is flying from near to far or far to near.
Things you need to decide:
|
File #2: lab02-xray-mask.fla
What you are going to learn in this exercise: mask
| 1. | Start with your lab01's xray file. | ||
| 2. | Create a new layer, and a scanner bar symbol (graphic).
Note:
|
||
|
3. | Order the layers in the Timeline so that:
Which layer is the "mask" layer and which is the "maskee"? |
|
| 4. | Right-click the "mask" layer and choose Mask. | ||
|
5. | If you want to give the skeleton a black background, create a new layer, and draw a big black rectangle that encloses the whole skeleton.
Make this a "maskee" layer but beneath the skeleton layer. An example of completed file.
|