Adding raster images to animated tutorials
Adding raster images (photos, art, etc.) is mostly the same as adding vector objects as previously discussed in Working with layers and vector objects to construct frames for animated tutorials. We will prepare our raster image create a new layer and then add our raster image.
Preparing a new raster image
Here we are not giving tips on painting. Rather, we will take an existing image and prepare it for insertion in our animation.
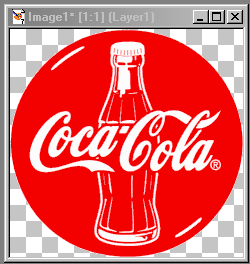
| Consider the logo at right. The image includes white space around the logo that we might prefer not be there. |  |
|
 |
|
 |
| Rename the layer to something meaningful, and use the "spectacles" toggle in the Layers Palette to hide and reveal the logo you inserted. |
- Animated Tutorials using Paint Shop Pro
- Working with layers and vector objects to construct frames for animated tutorials
- Animating your work