Working with layers and vector objects to construct frames for animated tutorials
Layers are a powerful tool for constructed the individual frames of your animation. You can create all the elements of your animation, and then unveil them in any combination for export as a GIF image, later to be a frame of your animation.
Getting Started
First we need to create our image.
- Click here for directions on creating a new blank canvas.
- If instead you wish to start with an existing image, choose "File >Load", and navigate to the file of interest. (See some good and bad examples for animations.)
Next, make sure that the "Layers Palette" is visible. If it is not, choose "View > Toolbars" and be sure the "Layers Palette" box is checked. While you are here, also check the "Tool Options Palette" box.
What are layers and objects?
Layers are one of the most powerful features of Paint Shop Pro. There are three kinds:
- Raster layers are the most obvious kind. When you draw, paint, or paste an image as a new layer, you are working with raster layers. These layers are pixel based. The background layer is always a raster layer.
- Control layers are not visible themselves; they just control the appearance of other layers. We are not going to use control layers in this lesson.
- Vector layers hold scalable vector objects. If you draw a circle on a raster layer, you are pretty much stuck with it as you have drawn it. However, if you draw a circle on a vector layer, it is a vector object. At any time in the future, you can change its size, position, and colors. Vector objects are lines, shapes, and other figures that are saved in a way that is not tied to fixed pixels. When adding arrows, lines, shapes, etc., always think first of vector objects, because they give you the most future flexibility.
Any layer can be made invisible, or even partly transparent. Using layers, we can build a complex drawing, and unveil its elements a few at a time and in any combination to achieve the animation we desire.
A simple example
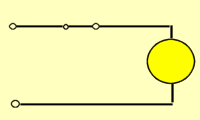
Let's build a simple animated tutorial showing how a light switch works.
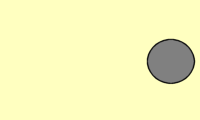
| First create a 200x120 image. The blank white square is shown to the right, believe it or not. |
|
|
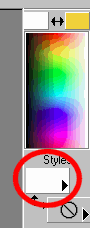
Next, change the background to a light tan:
|
 |
|
 |
|
 |
|
 |
|
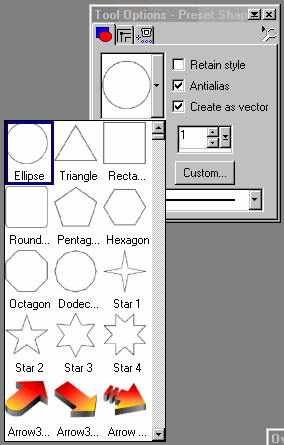
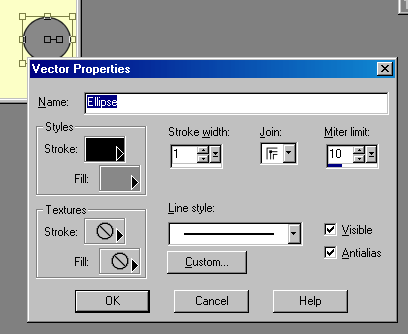
Now add a vector layer.
|
 |
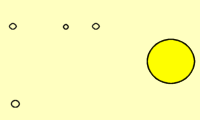
| We will now build our lights. | |
|
 |
|
 |
|
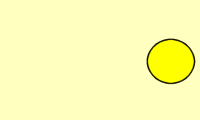
Now we will create a layer with the same light shape, denoting the light on. |
|
|
 |
|
 |
 |
|
|
 |
|
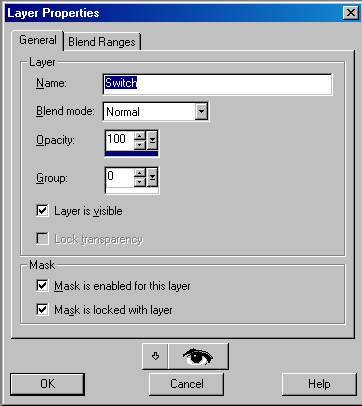
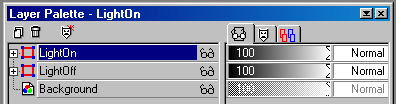
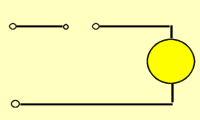
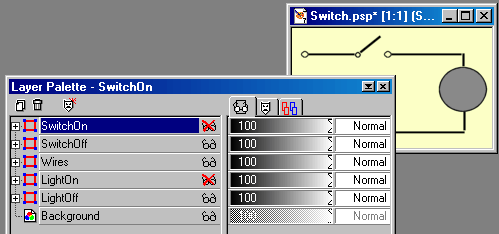
Clicking on the spectacles next to any layer's name toggles its visibility off and on. Play with it. Now lets add the wires and terminals. |
|
|
|
|
 |
|
 |
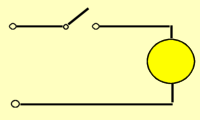
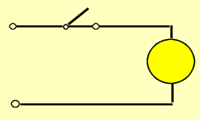
| Finally, we add a layer each for Switch On and Switch Off. | |
|
 |
|
 |
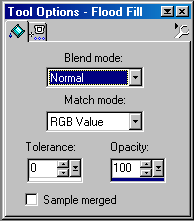
| Now it is time to export our frames. | |
|
 |
|
 |